Email messages
The majority of Dynamics 365 applications include the ability to receive and/or to create stand alone email messages.
A few specific applications are also configured to create emails from within an individual record (for example, from a Case) or through Workflows - but these scenarios are not covered in this topic.
If you have any queries on accessing email messages in your specific application, please contact help@it.ox.ac.uk.
The links below take you to information about email messages:
> Viewing sent and received email messages
Accessing email messages
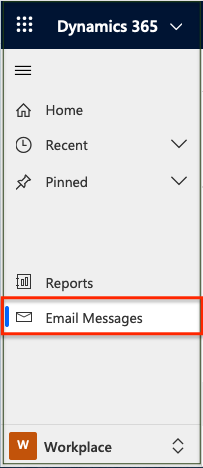
For applications that receive and/or send emails, these messages are usually accessed from the Workplace menu option 'Email Messages'.
Viewing sent and received email messages
Selecting this option displays a drop down list of personal and system email views that are available for the application, defaulting to 'My Received Emails'. Any view can be pinned to make it the default.
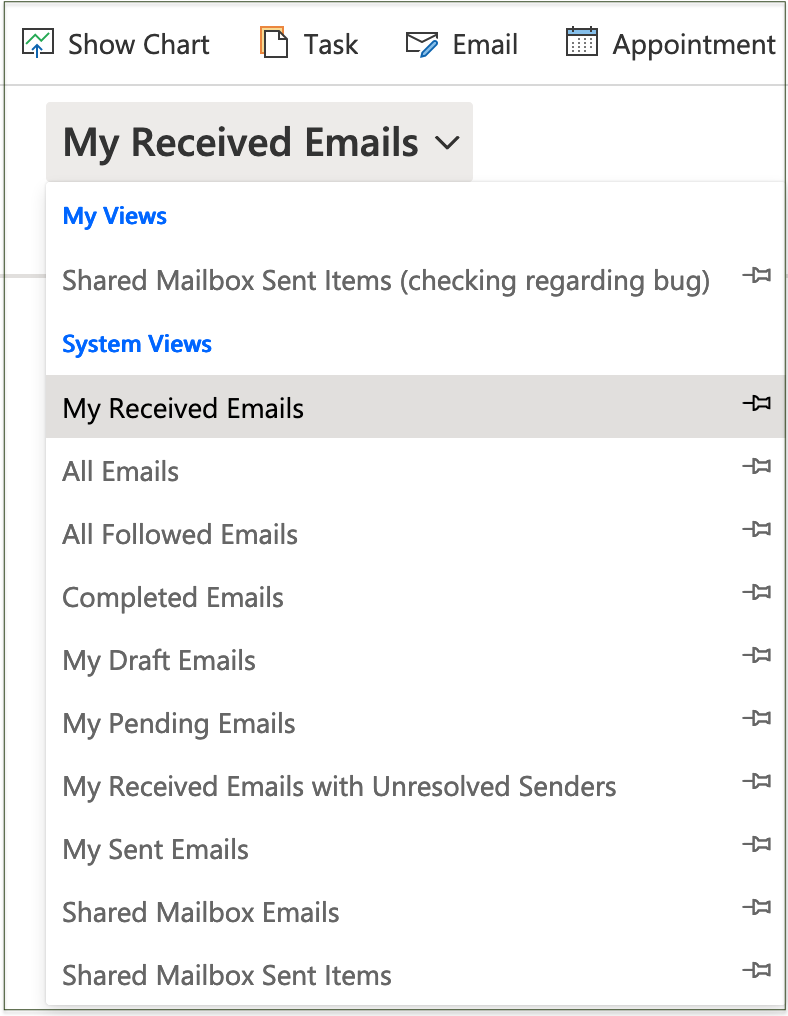
Selecting an email view displays a list of the sent or received emails in that category.

The email list can be sorted and filtered, and individual emails opened to view their contents.
Note. It is not possible to sort or filter on the 'From', 'To', or 'Cc' columns due to a Microsoft limitation.
Creating email messages
To create a new email, select 'Email Messages' from the Workplace and click 'Email' on the top ribbon.
A blank 'New Email' form is displayed for the user to fill in the details as required. There are also options to insert a Template and Signature.
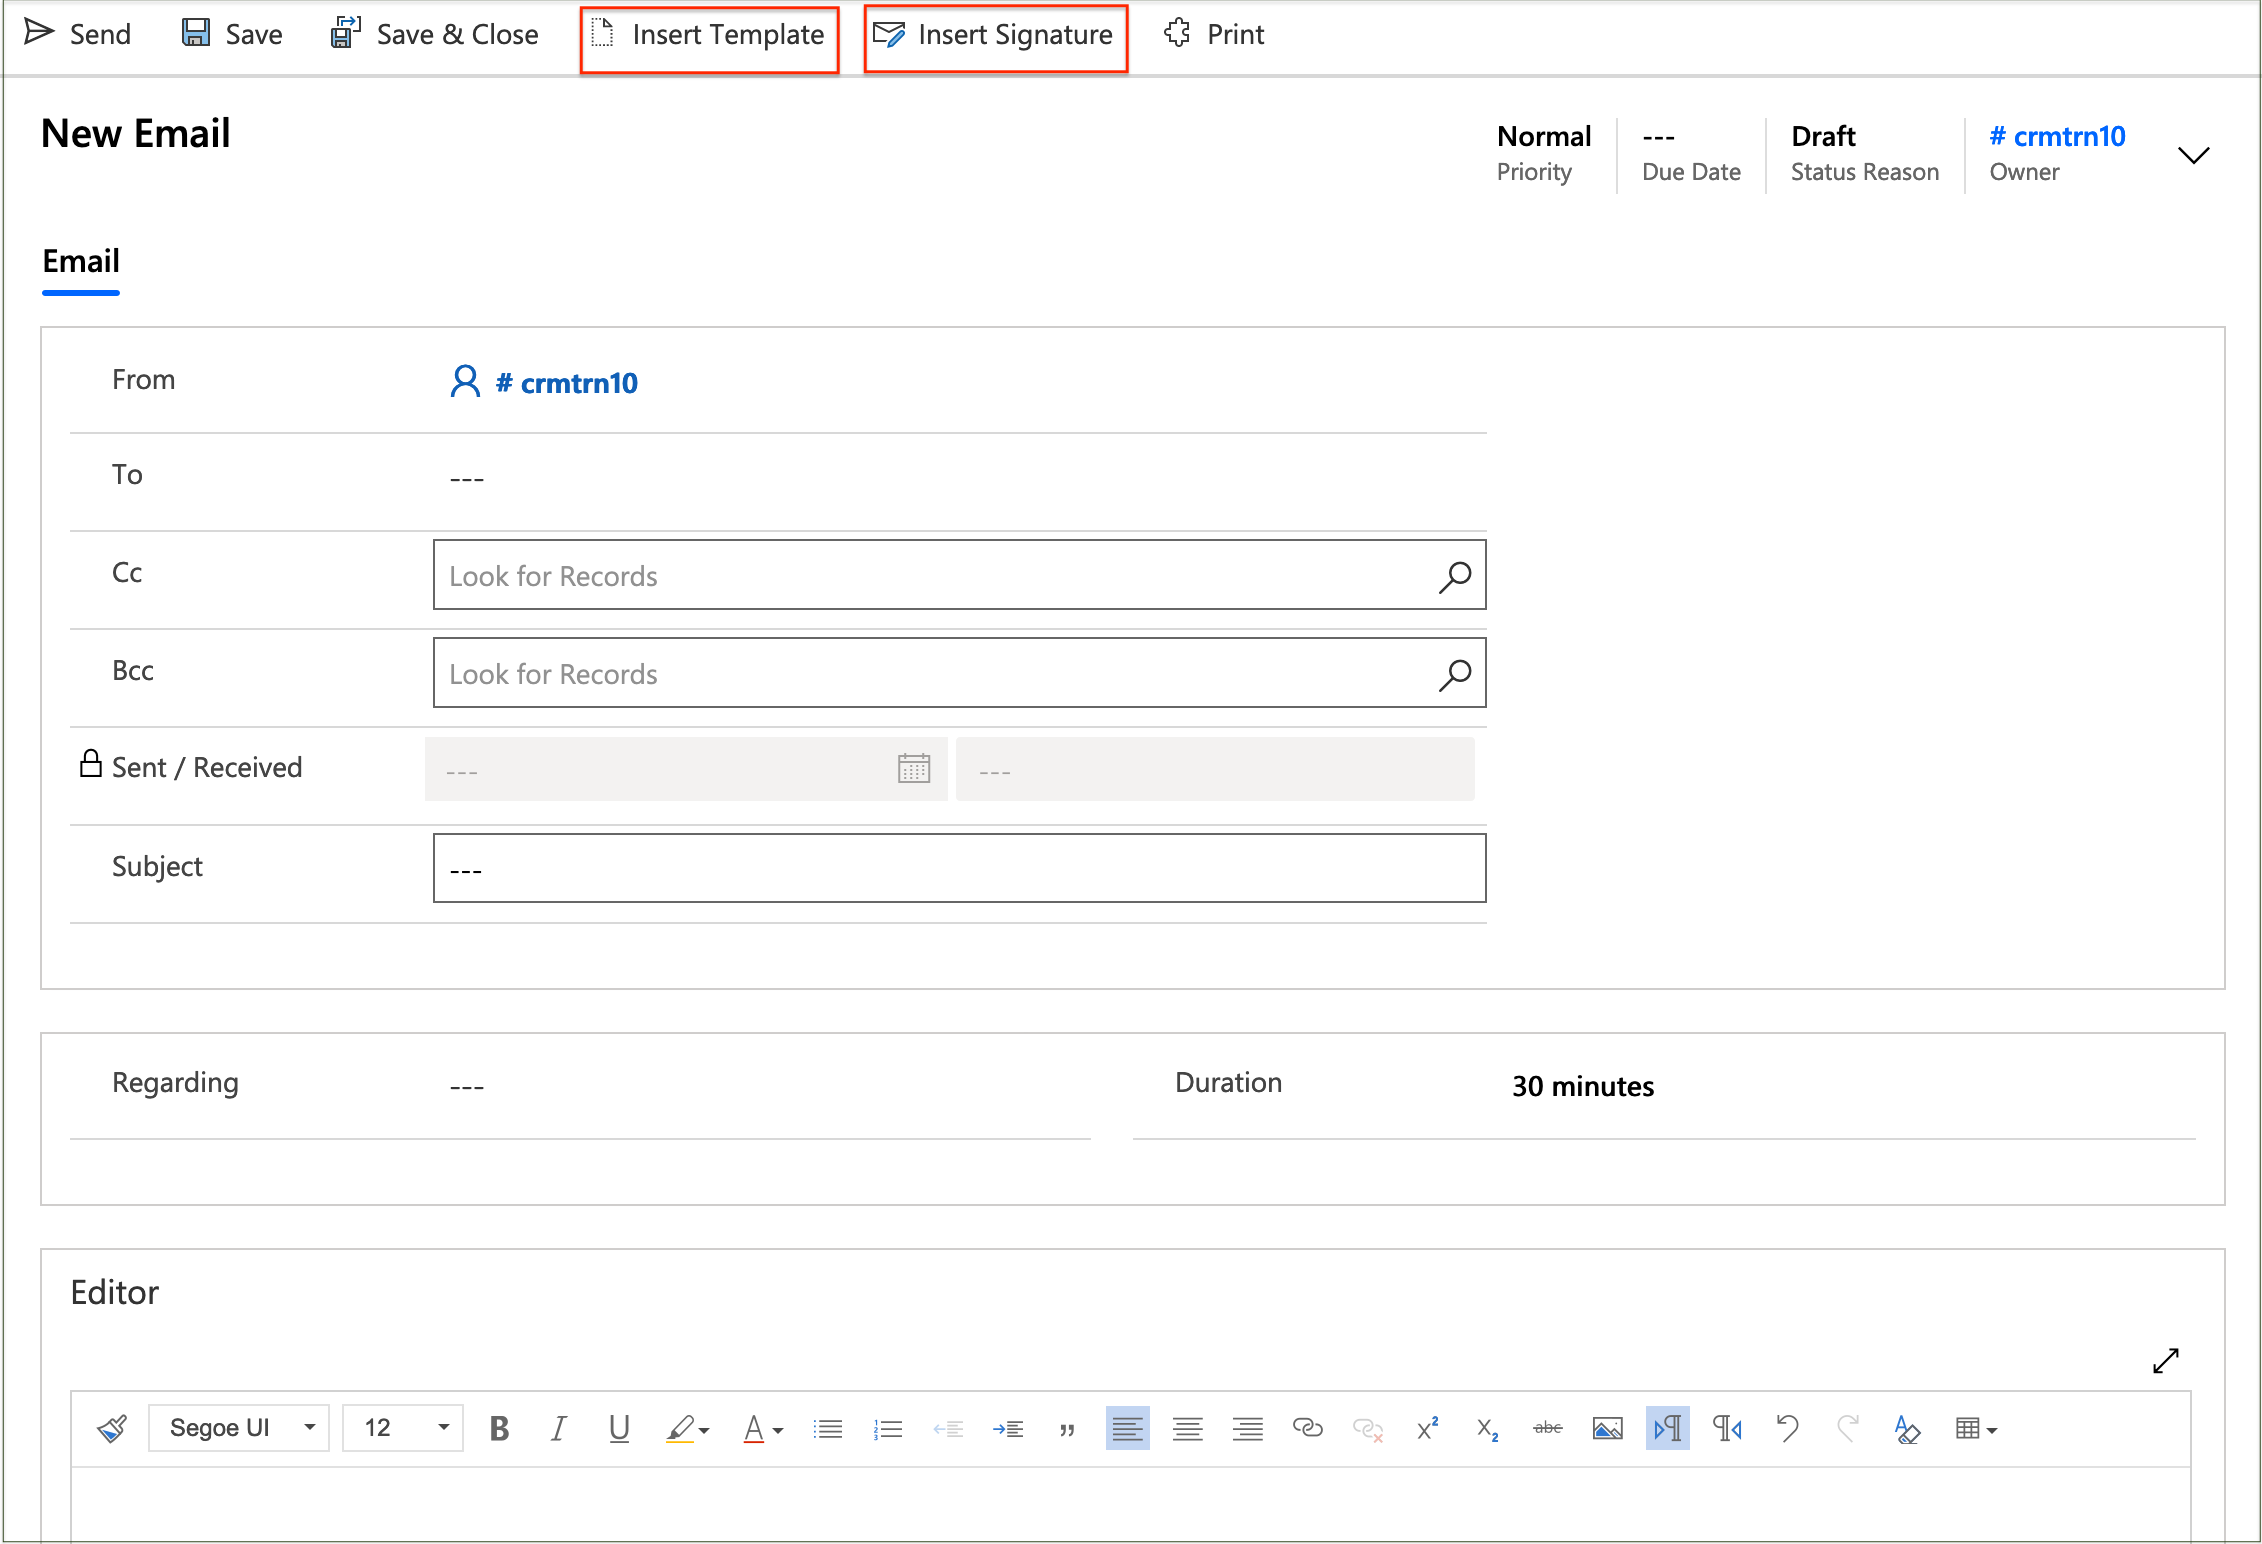
Note. Case Management users also have an option to switch between two email editors.
Inserting a template
Note. See Email Templates for information on how to create Personal and Global templates from within Personalization Settings.
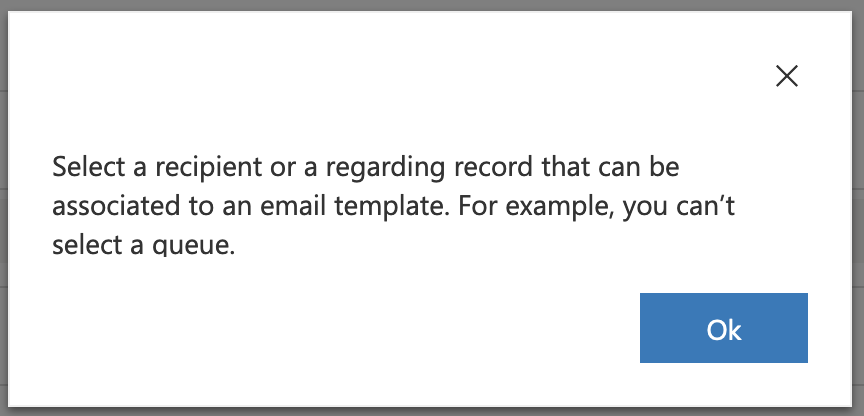
A 'Recipient' or 'Regarding' field must be selected before attempting to insert a template, else an error message is displayed.
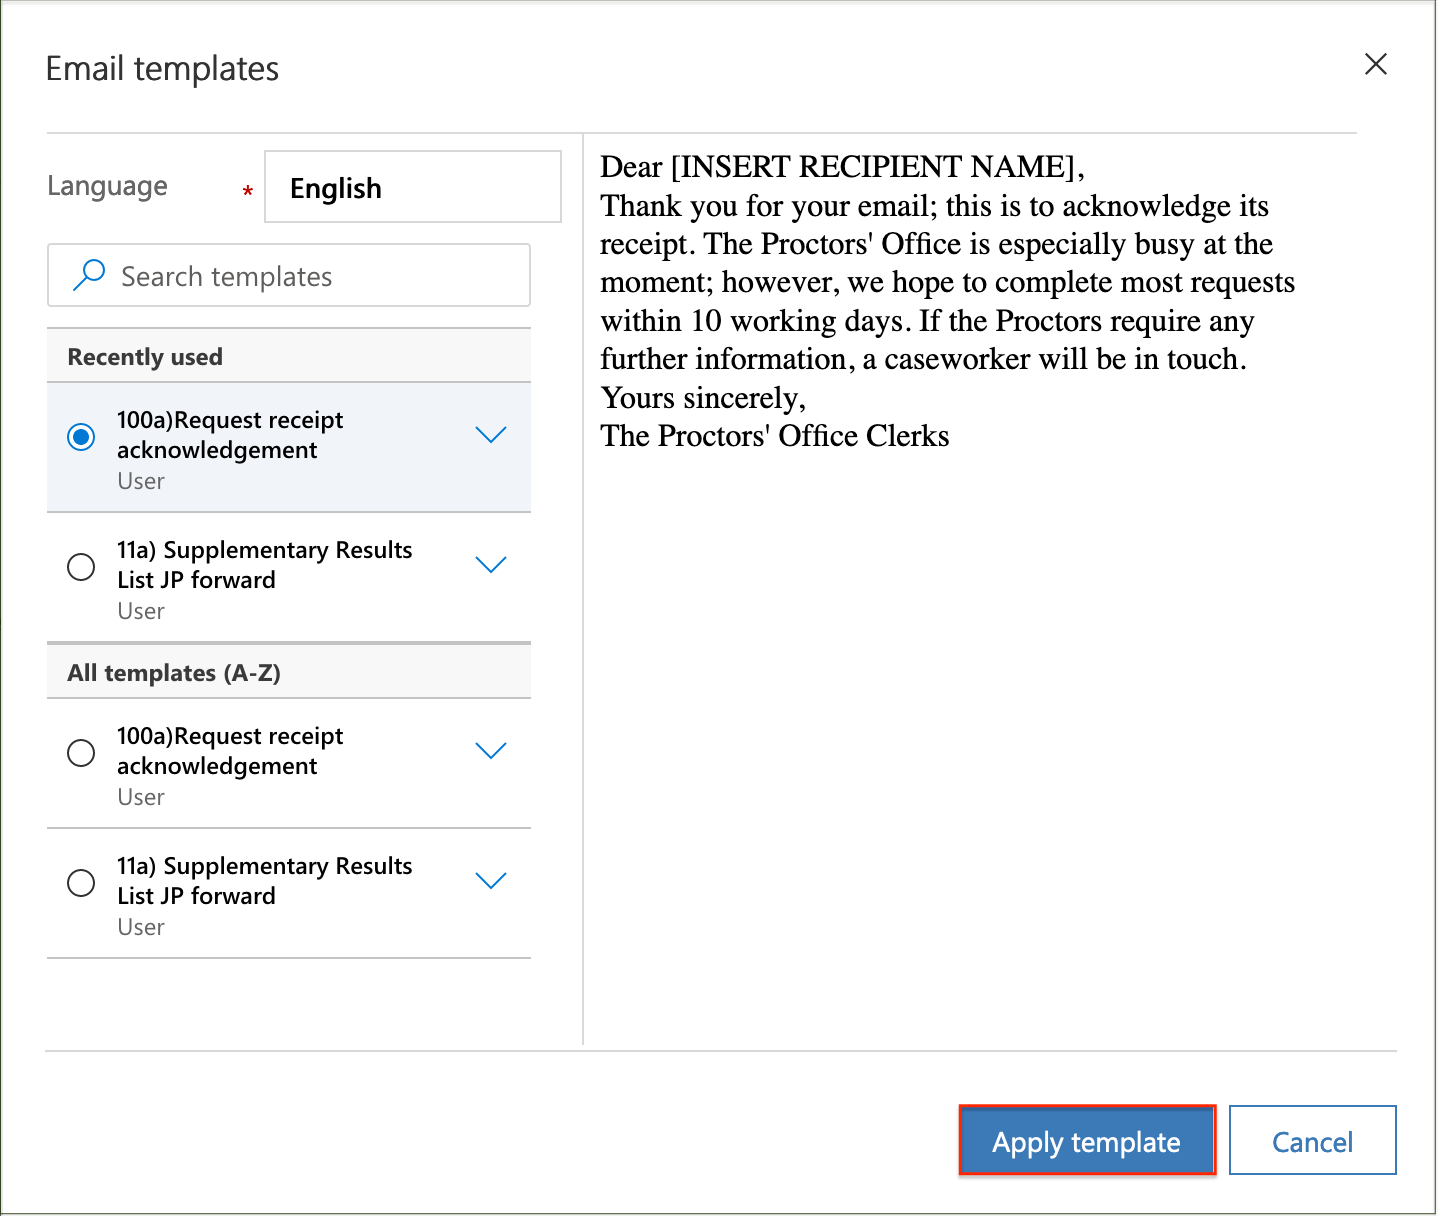
Clicking 'Insert Template' at the top of the email form displays lists of Recently Used and All Templates that the user is authorised to access.
Clicking the down arrow next to a template displays the author and creation date.
Entering some text into the search box filters the list to show any template names containing that text.
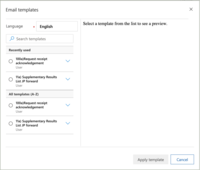
Selecting a template from the list displays a preview and enables the 'Apply Template' button.
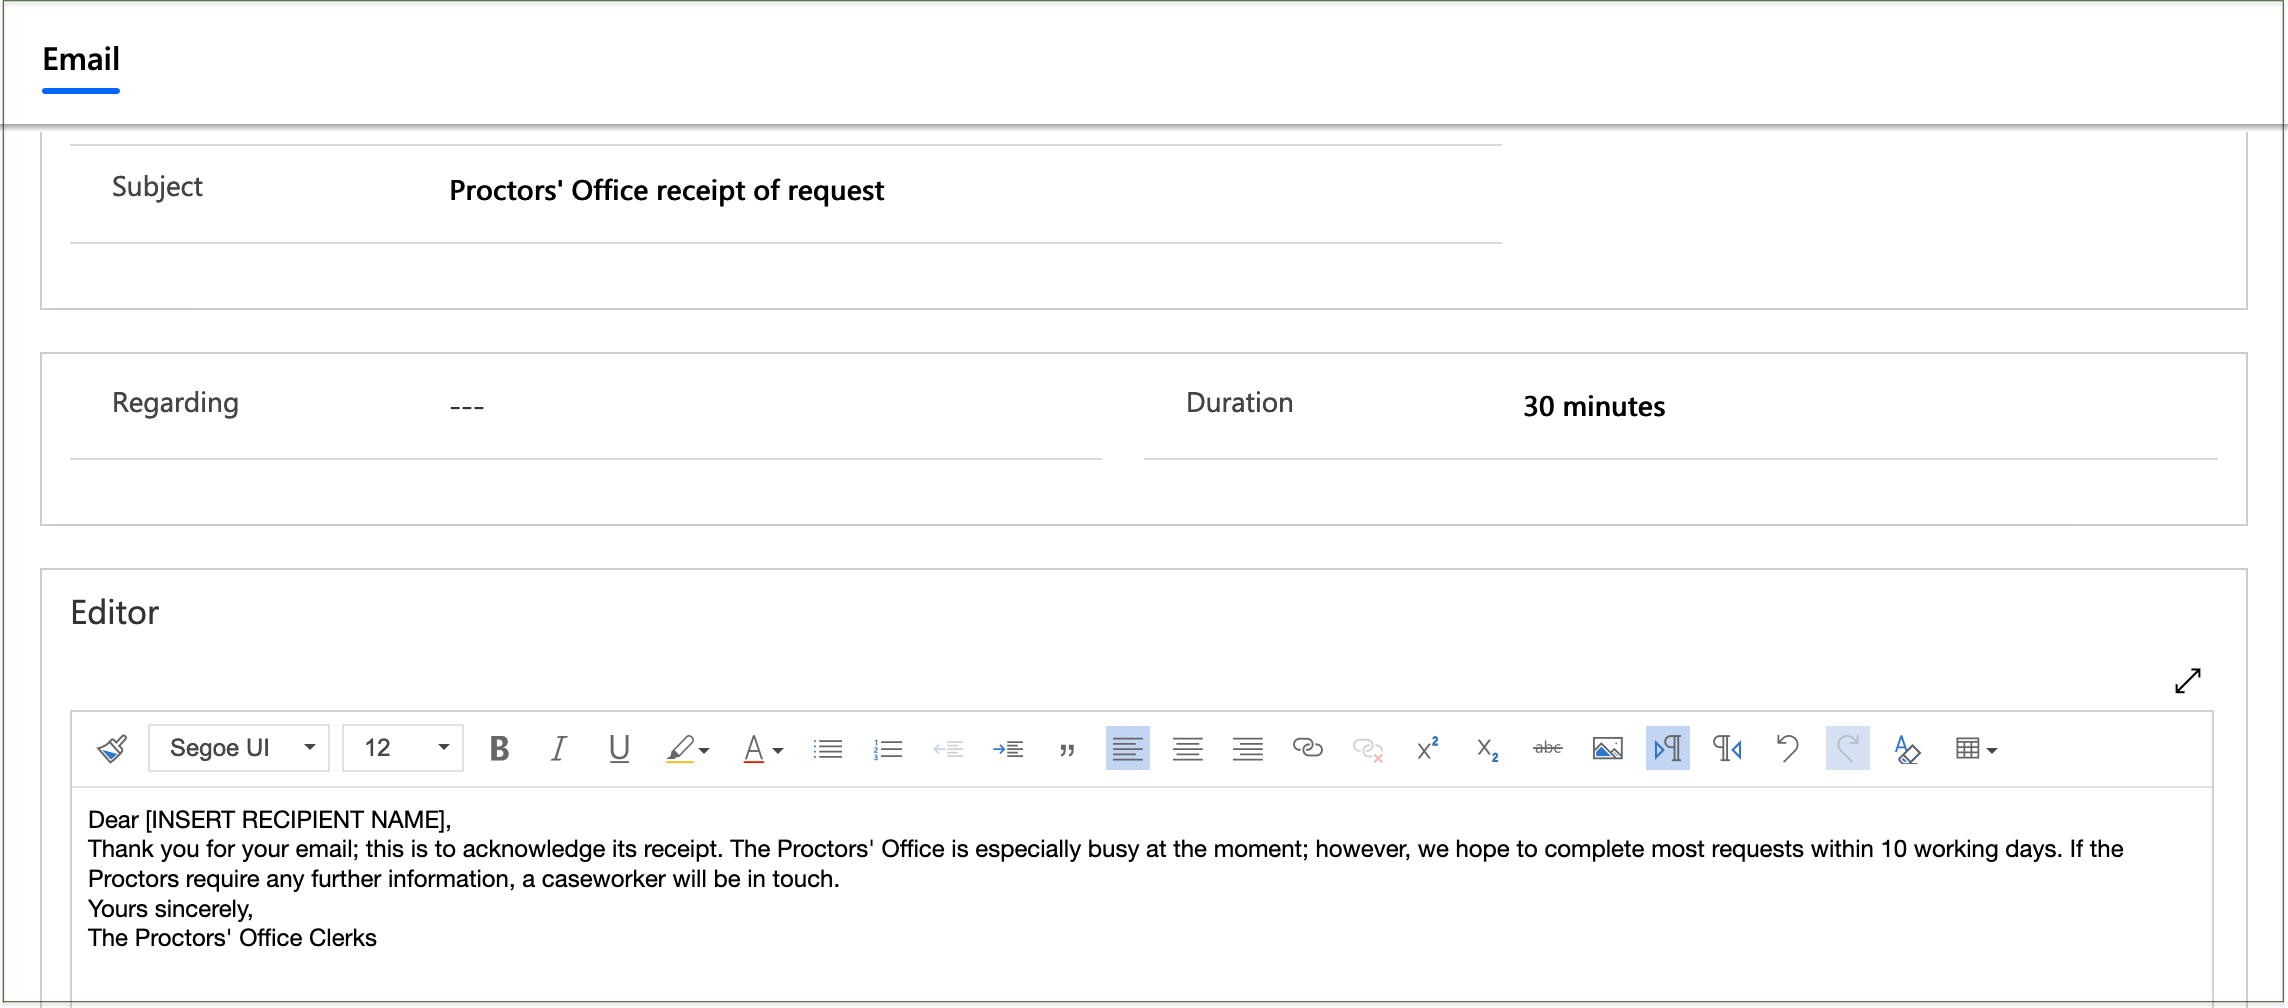
Clicking 'Apply Template' fills in the Subject field and populates the editor with the template text for completion.
Inserting a signature
Note. See Email Signatures for information on how to create Personal signatures from within Personalization Settings.
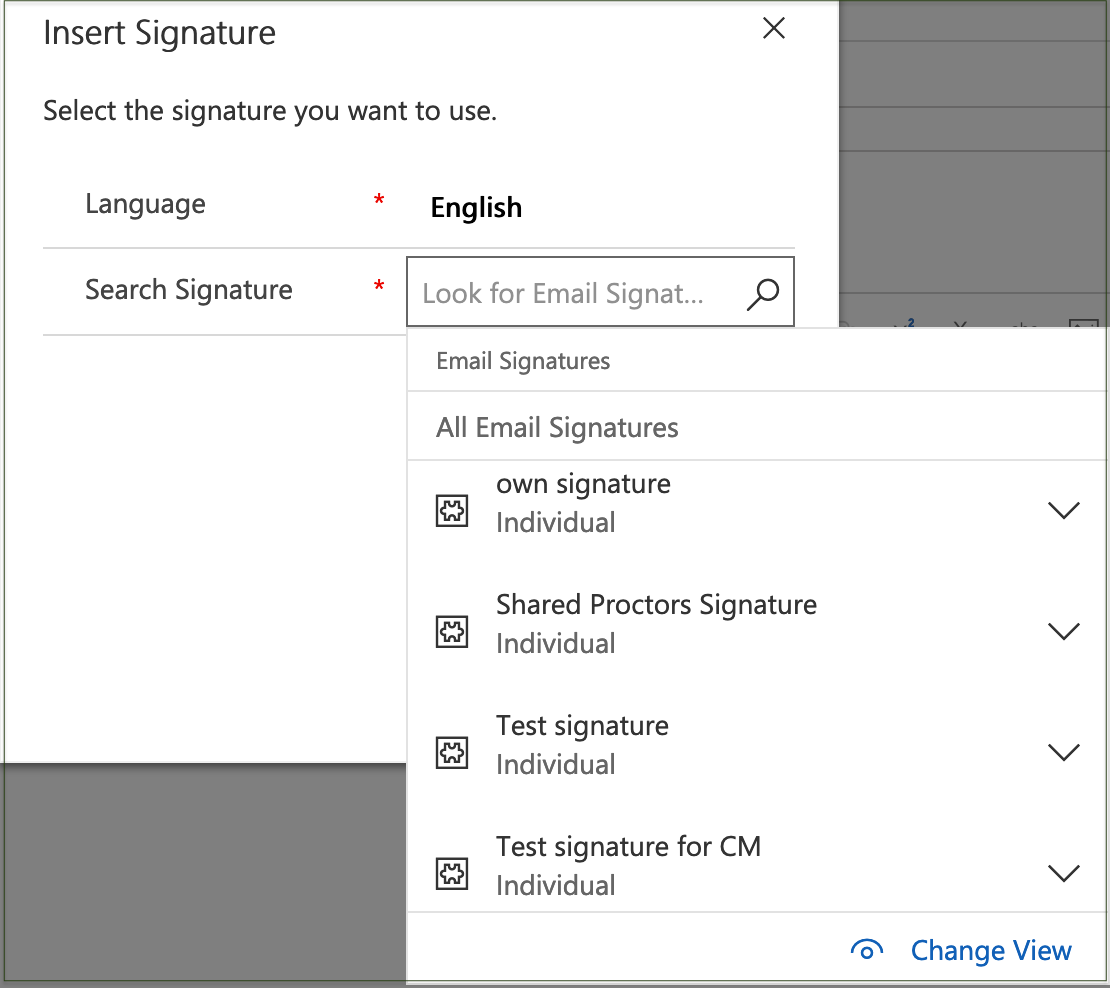
Clicking 'Insert Signature' at the top of the email form and pressing Enter in the 'Search Signature' box displays a list of the user's personal signatures for selection.
Typing some text into the search box will filter the list to show any signature names beginning with that text. A wildcard can be used to search for names containing the text.
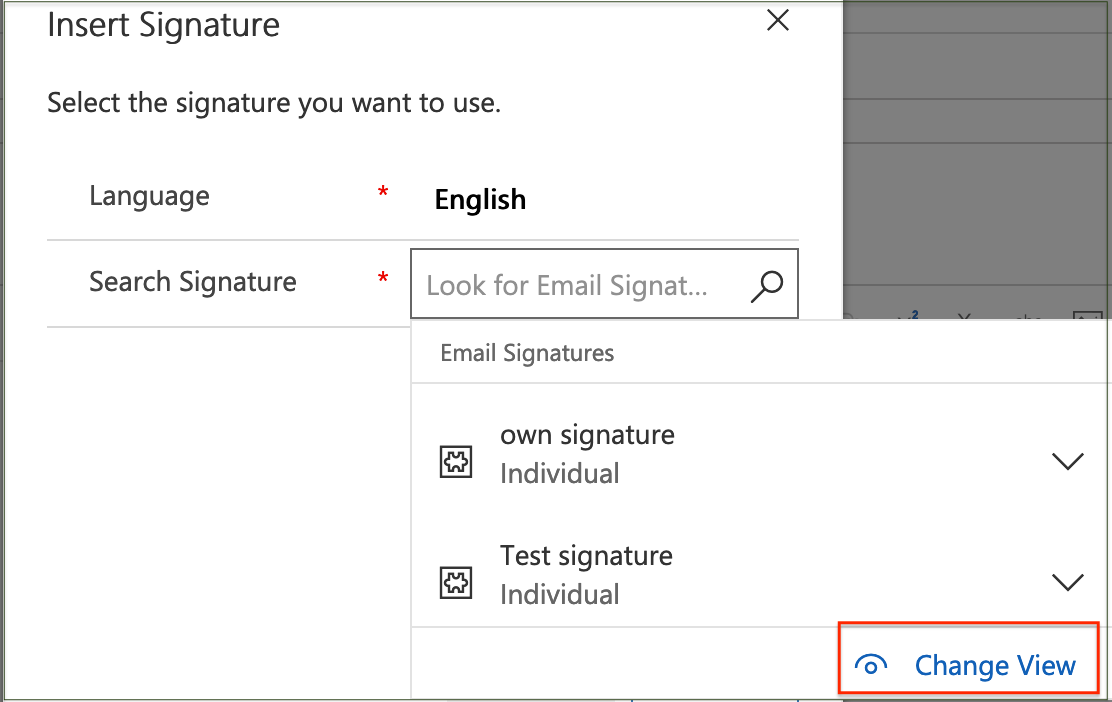
Selecting 'Change View' enables a list of 'All Signatures' to be selected which will display all signatures that the user is authorised to access.
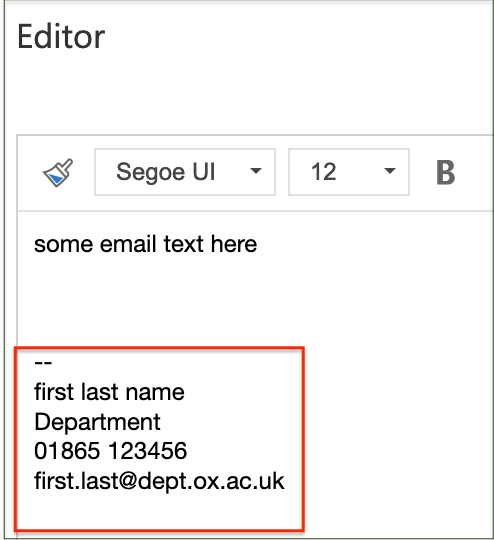
Selecting a listed signature and then clicking 'Select' populates the editor with the signature text.
Inserting an attachment
A drafted email must always be 'Saved' before an attachment can be added.
Saving a new email or opening a Draft email will then display the 'Attach File' button on the top ribbon.
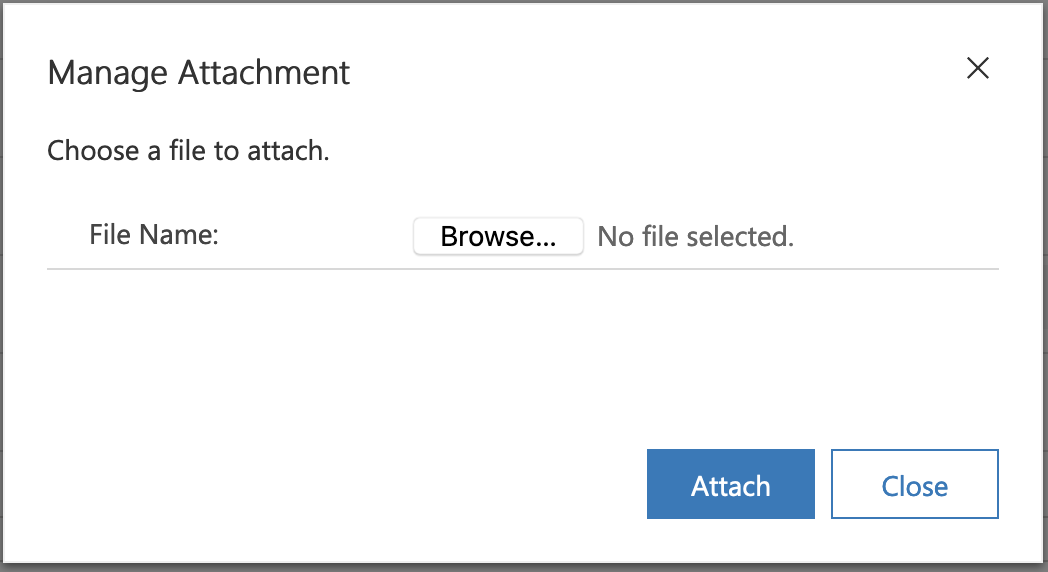
Clicking 'Attach File' enables the user to browse for a file and attach it to the email.
Saving and sending an email
Clicking 'Save' or 'Save & Close' on the top ribbon of an email will save it as 'Draft' so that it can be retrieved later from the list of 'My Draft Emails'.
Click 'Send' to send the email when it is ready.
Sending an email will change the state to 'Pending Send' until it has been transmitted from the email server.
Any emails that have not been transmitted successfully can be retrieved from 'My Pending Emails' list, then resent if necessary.
Using Spell Check in emails
The Dynamics Spell Checker is no longer used in any of the email editors, therefore the browser spell checker should be used instead.
First, make sure that the spell checker is enabled in the Settings/Preferences/Options function according to the browser being used.
When typing in the body of an email editor, highlight a mis-spelt word and use:
- 'Ctrl + right click' on a PC
- 'Shift + right click' on an Apple device
to display the browser's spell check options.
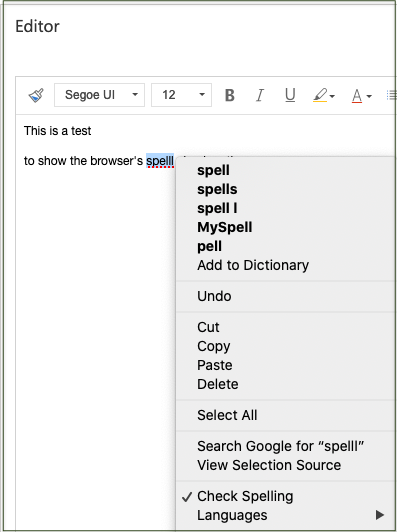
This is an example using a Firefox browser.
